
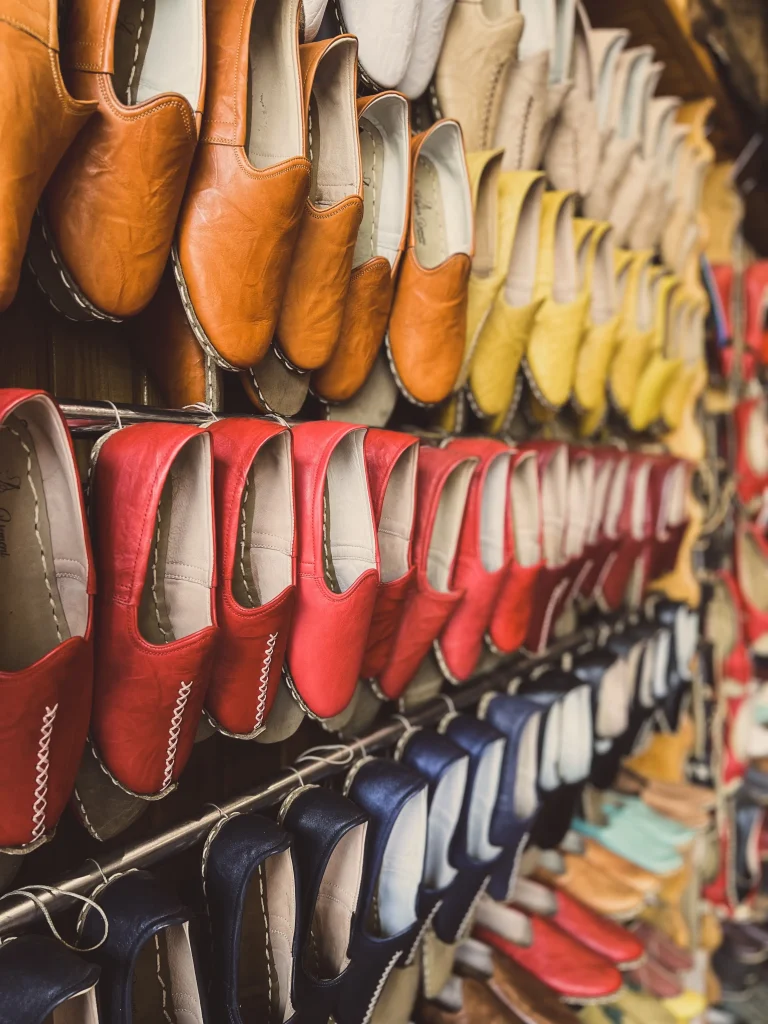
How To Take Pictures Of Shoes To Sell?
Welcome to our comprehensive guide on how to take captivating pictures of shoes to sell! In today’s competitive e-commerce landscape, high-quality product photography is essential for capturing the attention of potential customers and driving sales. When it comes to selling shoes, showcasing their unique features, style, and comfort is crucial. In this guide, we’ll walk you through the process of taking stunning shoe photos that will not only highlight the product’s best attributes but also create a memorable shopping experience for your customers.
We’ll cover everything from setting up the perfect shot and choosing the right background to lighting techniques and post-production tips. So, grab your smartphone or camera, and let’s get started on creating eye-catching shoe images that will set your online store apart from the competition!
How to take professional photos with your smartphone?
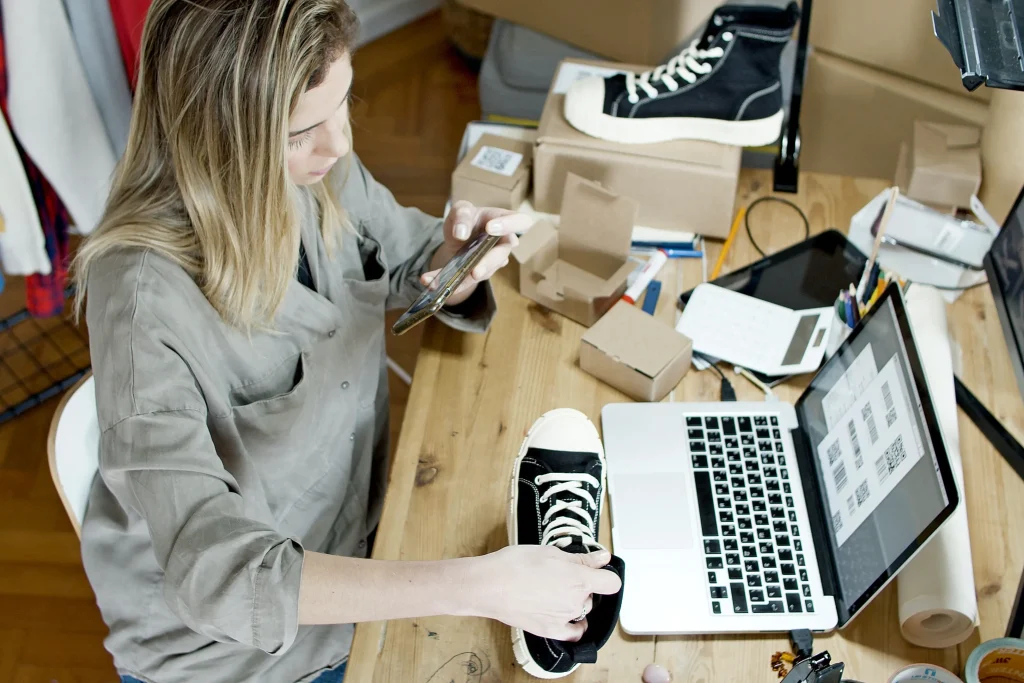
Taking professional photos with your smartphone is easier than you might think. With the right techniques a few simple tools, you can capture high-quality images that showcase your products in the best light. Here are some tips to help you take professional-looking photos using your smartphone:
Clean your lens
Before you start, make sure your smartphone’s camera lens is clean. A dirty lens can result in blurry or distorted images. Use a microfiber cloth to gently wipe away any dust or smudges.
Use natural light
Whenever possible, take advantage of natural light. Set up your shoot near a window or outdoors to get soft, even lighting. Avoid direct sunlight, as it can create harsh shadows and overexposed areas.
Steady your phone
To avoid blurry images, keep your smartphone steady while taking photos. Use a tripod or a makeshift stand to hold your phone in place. You can also use the self-timer feature to give yourself time to stabilize the phone before the photo is taken.
Choose the right background
Select a simple, uncluttered background that complements your product without distracting from it. A plain white or neutral-colored backdrop works well for most products.
Experiment with angles
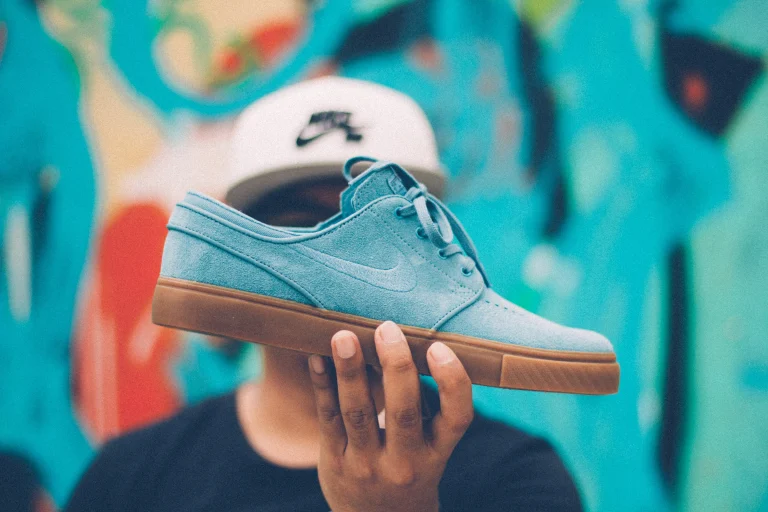
Try taking photos from different angles to showcase your product’s unique features. For example, take a top-down shot to highlight the design of a pair of shoes or a side view to show off the heel height.
Use the rule of thirds
To create visually appealing images, follow the rule of thirds. Imagine your frame divided into a 3×3 grid and place your product at the intersection of two lines. This helps create a balanced composition.
Adjust focus and exposure
Tap on your smartphone screen to set the focus on your product. You can also adjust the exposure by sliding your finger up or down on the screen. This ensures your product is well-lit and in sharp focus.
Edit your photos
Use photo editing apps like Snapseed, VSCO, or Adobe Lightroom Mobile to enhance your images. Adjust brightness, contrast, saturation, and sharpness to make your product stand out. Remember to keep edits subtle and consistent across all your images. In this article we learn how to take pictures of shoes to sell.
Optimize image size
Before uploading your photos to your online store or social media, make sure they are optimized for web use. Resize your images to the recommended dimensions and compress them to reduce file size without compromising quality.
Related To: Best Running Shoes For Beginners
Related To: Are Running Shoes Good For Standing All Day?
How to use natural lighting for product photography?
Using natural lighting for product photography can yield stunning results without the need for expensive equipment. In this article we learn how to take pictures of shoes to sell. Here are some tips on how to effectively use natural light to capture beautiful product images:
Choose the right time of day
The best time for natural light photography is during the golden hours, which are early morning and late afternoon when the sun is low in the sky. This provides soft, warm light that creates a pleasing ambiance. Alternatively, you can shoot on overcast days when the clouds diffuse sunlight, resulting in even, soft lighting.
Find the right location
Set up your shoot near a large window or glass door that allows plenty of natural light to enter. Avoid direct sunlight, as it can create harsh shadows and overexposed areas. If you’re shooting outdoors, look for shaded areas or use a diffuser to soften the light.
Use reflectors
Reflectors can help you manipulate natural light to your advantage. Use a white foam board or a collapsible reflector to bounce light onto your product, filling in shadows and creating a more even illumination. You can also use a black foam board to create deeper shadows for a more dramatic effect.
Diffuse the light
If the sunlight is too harsh, use a diffuser to soften it. You can purchase a collapsible diffuser or create a DIY version using a white bedsheet or translucent shower curtain. Place the diffuser between the light source and your product to create a softer, more even light.
Position your product
Experiment with the placement of your product in relation to the light source. Side lighting can emphasize texture and create depth, while backlighting can create a silhouette effect or highlight transparent materials. Front lighting provides even illumination but may result in a flatter image.
Adjust your camera settings
When shooting in natural light, you may need to adjust your camera settings to achieve the desired exposure. Use a lower ISO to reduce noise, and adjust the shutter speed and aperture to control the amount of light entering the camera.
Monitor the light
Natural light can change quickly, so keep an eye on the lighting conditions throughout your shoot. Be prepared to adjust your setup or camera settings as needed to maintain consistent lighting.
Post-processing
After capturing your images, use photo editing software to make any necessary adjustments. You may need to correct the white balance, adjust exposure, or enhance colors to achieve the desired look.
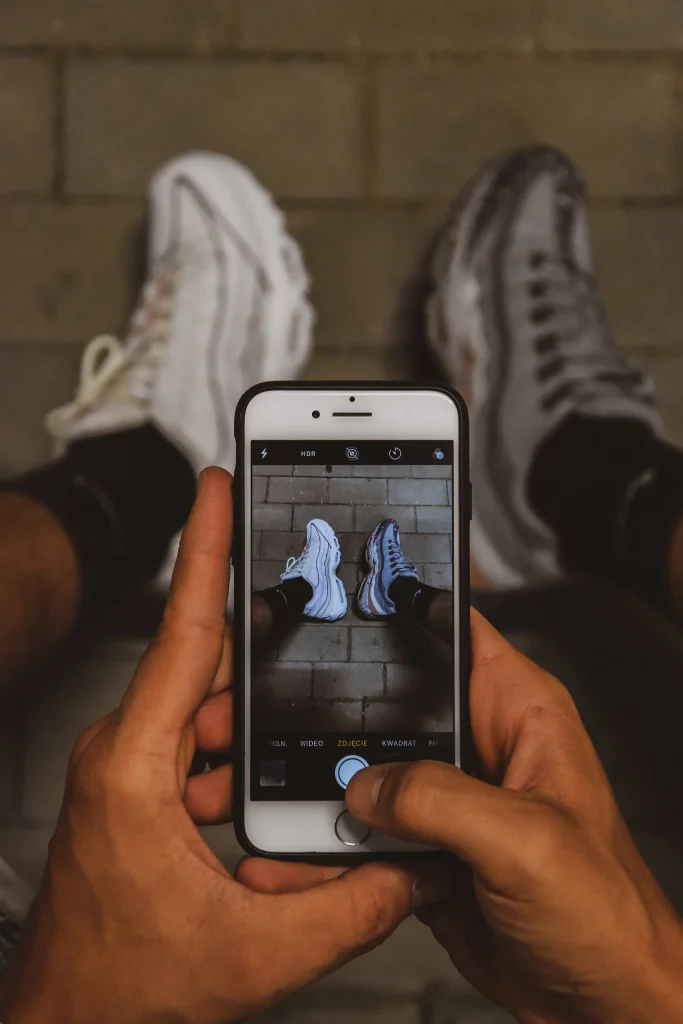
How to shoot photography on a mobile phone?
Shooting high-quality photography on a mobile phone is possible with the right techniques and a few simple tools. In this article we learn how to take pictures of shoes to sell. Here are some tips to help you capture stunning images using your smartphone:
Clean your lens
Before you start, make sure your smartphone’s camera lens is clean. A dirty lens can result in blurry or distorted images. Use a microfiber cloth to gently wipe away any dust or smudges.
Use natural light
Whenever possible, take advantage of natural light. Set up your shoot near a window or outdoors to get soft, even lighting. Avoid direct sunlight, as it can create harsh shadows and overexposed areas.
Steady your phone
To avoid blurry images, keep your smartphone steady while taking photos. Use a tripod or a makeshift stand to hold your phone in place. You can also use the self-timer feature to give yourself time to stabilize the phone before the photo is taken.
Choose the right background
Select a simple, uncluttered background that complements your subject without distracting from it. A plain white or neutral-colored backdrop works well for most subjects.
Experiment with angles
Try taking photos from different angles to showcase your subject’s unique features. For example, take a top-down shot to highlight the design of a dish or a side view to show off the height of a building.
Use the rule of thirds
To create visually appealing images, follow the rule of thirds. Imagine your frame divided into a 3×3 grid and place your subject at the intersection of two lines. This helps create a balanced composition.
Adjust focus and exposure
Tap on your smartphone screen to set the focus on your subject. You can also adjust the exposure by sliding your finger up or down on the screen. This ensures your subject is well-lit and in sharp focus.
Use your phone’s camera features
Explore your smartphone’s camera features, such as portrait mode, panorama, or HDR, to enhance your images. These features can help you achieve professional-looking results with minimal effort.
Edit your photos
Use photo editing apps like Snapseed, VSCO, or Adobe Lightroom Mobile to enhance your images. Adjust brightness, contrast, saturation, and sharpness to make your subject stand out. Remember to keep edits subtle and consistent across all your images.
By following these tips and practicing your photography skills, you’ll be well on your way to capturing stunning images with your smartphone that can be used for personal or professional purposes.
Related To: How To Take Pics Of Shoes
Best camera angles for product photography:
Choosing the right camera angles for product photography is essential to showcase your product’s unique features and create visually appealing images. Here are some of the best camera angles to consider when photographing your products:
Straight-on angle
This is the most common angle used in product photography. Position your camera at eye level with the product, capturing a clear, straightforward view. This angle is ideal for showing the front of the product and works well for most items, including clothing, accessories, and electronics.
Top-down angle (Bird’s eye view)
This angle involves positioning the camera directly above the product, looking down at it. This perspective is perfect for flat items like books, magazines, or jewelry, as well as for showcasing the layout of products, such as a table setting or a collection of items.
Three-quarter angle
Place your camera at a 45-degree angle to the product, capturing both the front and one side. This angle adds depth and dimension to your images, making them more engaging. It’s particularly effective for products with interesting side details, such as shoes, bags, or electronic devices.
Side angle
Position your camera to capture the side view of the product. This angle is useful for highlighting specific features or details on the side of the product, such as the thickness of a book or the profile of a shoe.
Low angle
Place your camera below the product, pointing upwards. This angle can make the product appear larger and more imposing, which can be useful for emphasizing the size or height of an item, such as a tall bottle or a piece of furniture.
High angle
Position your camera above the product, pointing downwards. This angle can make the product appear smaller and more compact, which can be useful for showcasing the overall shape or design of an item, such as a watch or a piece of jewelry.
Close-up or macro
Use a close-up or macro lens to capture intricate details or textures of your product. This angle is ideal for highlighting the craftsmanship or unique features of an item, such as the stitching on a handbag or the engraving on a piece of jewelry.
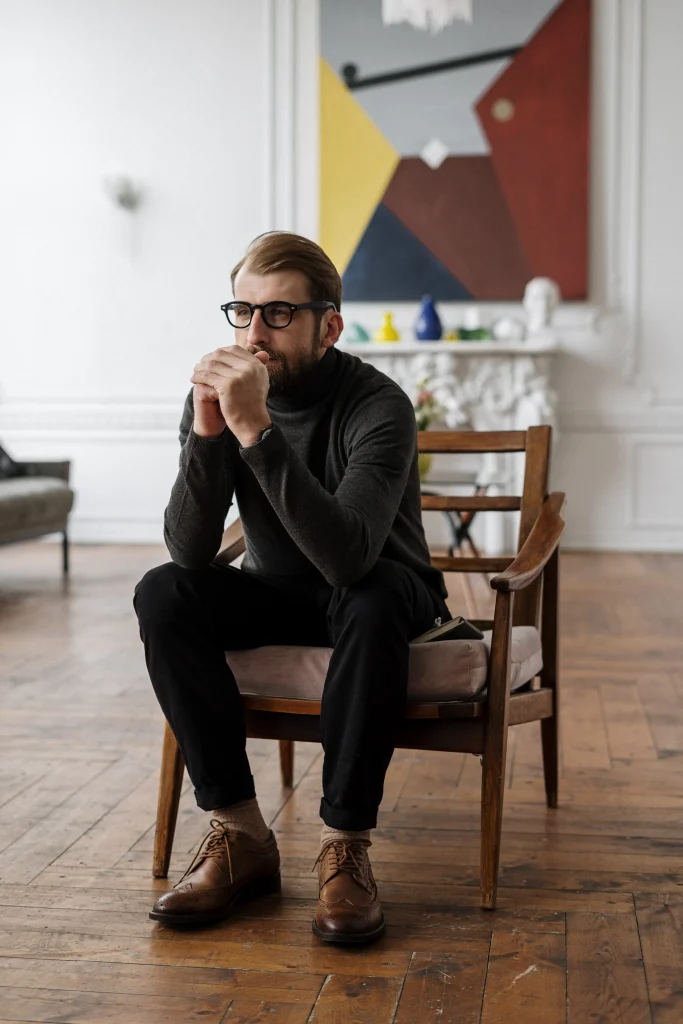
Lifestyle or in-context
Incorporate your product into a real-life setting or environment to show how it’s used or how it fits into a customer’s life. This angle can help potential buyers visualize the product in their own lives and create an emotional connection.
Experiment with these camera angles and find the ones that best showcase your product’s unique features and benefits. Remember to keep your images consistent in style and quality to create a cohesive and professional look for your online store or marketing materials.
conclusion
In conclusion, capturing high-quality product photography is crucial for showcasing your products and driving sales in today’s competitive e-commerce landscape. By utilizing the right camera angles, taking advantage of natural lighting, and employing smartphone photography techniques, you can create visually appealing and professional-looking images that resonate with your target audience. In this article we learn how to take pictures of shoes to sell.