
How To Take Pics Of Shoes? Step By Step Complete Guide
Introduction:
Welcome to our comprehensive guide on how to take amazing pictures of shoes! Whether you’re a professional photographer, a budding Instagram influencer, or a passionate shoe enthusiast, this guide will provide you with the knowledge and skills you need to capture the perfect shoe shot. We’ll cover everything from setting up your shoot to editing your photos, ensuring that your shoe photography game is on point. So, let’s dive in and explore the world of shoe photography and know about, How To Take Pics Of Shoes?
Understanding Your Subject
The Art of Shoe Photography Before you start snapping away, it’s essential to understand the unique aspects of shoe photography. Shoes come in various shapes, sizes, and materials, each with its own set of challenges and opportunities. To capture the essence of a shoe, you’ll need to consider its design, texture, and color, as well as the story you want to tell through your images.
Choosing the Right Equipment for Shoe Photography
To achieve professional-quality shoe photos, you’ll need the right equipment. Therefore Here’s a list of essential gear for shoe photography:
Camera
A DSLR or mirrorless camera with manual settings is ideal for capturing high-quality images.
Lenses
A versatile lens, such as a 50mm prime lens or a 24-70mm zoom lens, is perfect for shoe photography. For close-up shots, consider investing in a macro lens.
Tripod
A sturdy tripod will help you achieve sharp, stable images in addition and allow you to experiment with different angles and compositions.
Lighting
Natural light is great for shoe photography, but you may also want to invest in a soft box or umbrella to diffuse light and create a more even, flattering look.
Reflectors
Reflectors can help bounce light onto your subject, filling in shadows and adding depth to your images.
If you have all the Equipment which following you can easily understand how to take pics of shoes.
Setting the Scene:
Backgrounds, Lighting, and Props The right background, lighting, and props can make or break your shoe photos. Furthermore are some tips for setting the scene:
Backgrounds
Choose a background that complements the shoe’s color and style. Simple, neutral backgrounds like white, gray, or black work well for most shoes. For a more creative approach, consider using textured or patterned backgrounds.
Lighting
Experiment with different lighting setups to find the best look for your shoes. Soft, diffused light is generally flattering, but you can also try side lighting, backlighting, or even dramatic, high-contrast lighting for a more striking effect.
Props
Props can add context and visual interest to your shoe photos. Consider using items like shoeboxes, laces, or even other shoes to create a dynamic, engaging scene.
Mastering the Perfect Angle and Composition:
The angle and composition of your shoe photos can make a significant impact on the final result. Here are some tips for finding the perfect angle and composition:
Experiment with different angles
Try shooting from above, below, or at eye level to find the most flattering angle for your shoes. Furthermore I will guide you in this article how to take pics of shoes.
Use the rule of thirds
Place your shoes along the intersections of the imaginary grid lines to create a balanced, visually appealing composition.
Fill the frame
Get up close and personal with your shoes to capture intricate details and textures.
Leave some negative space
Give your shoes room to breathe by leaving some empty space around them in the frame.
Tips for Shooting Different Types of Shoes
Different types of shoes require different approaches to photography. Here are some tips for capturing various shoe styles:
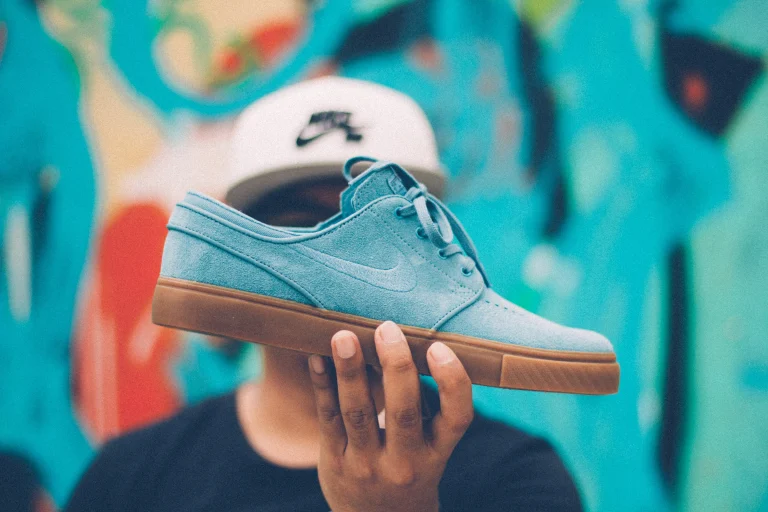
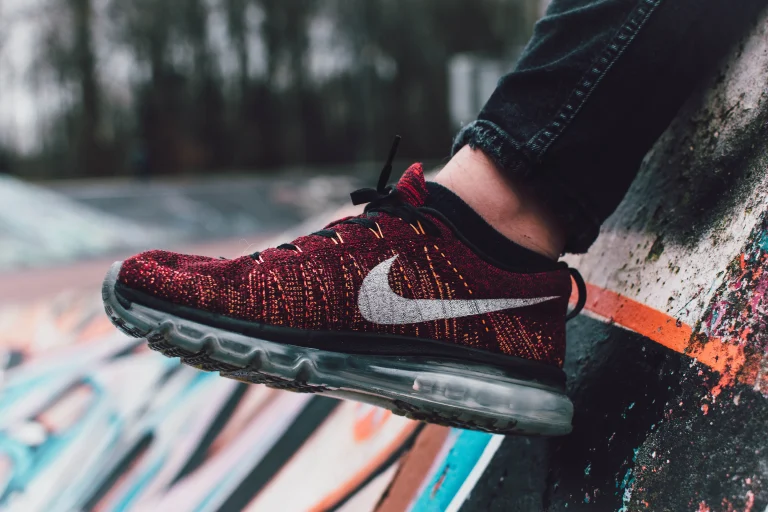
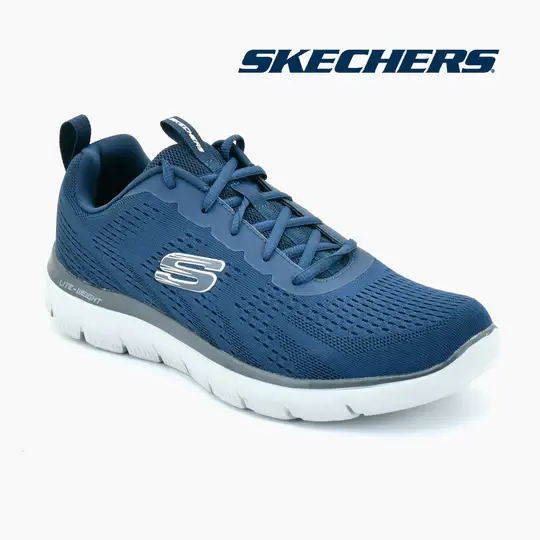
Sneakers
Showcase the unique design elements and colors of sneakers by using bold, vibrant backgrounds and dynamic angles.
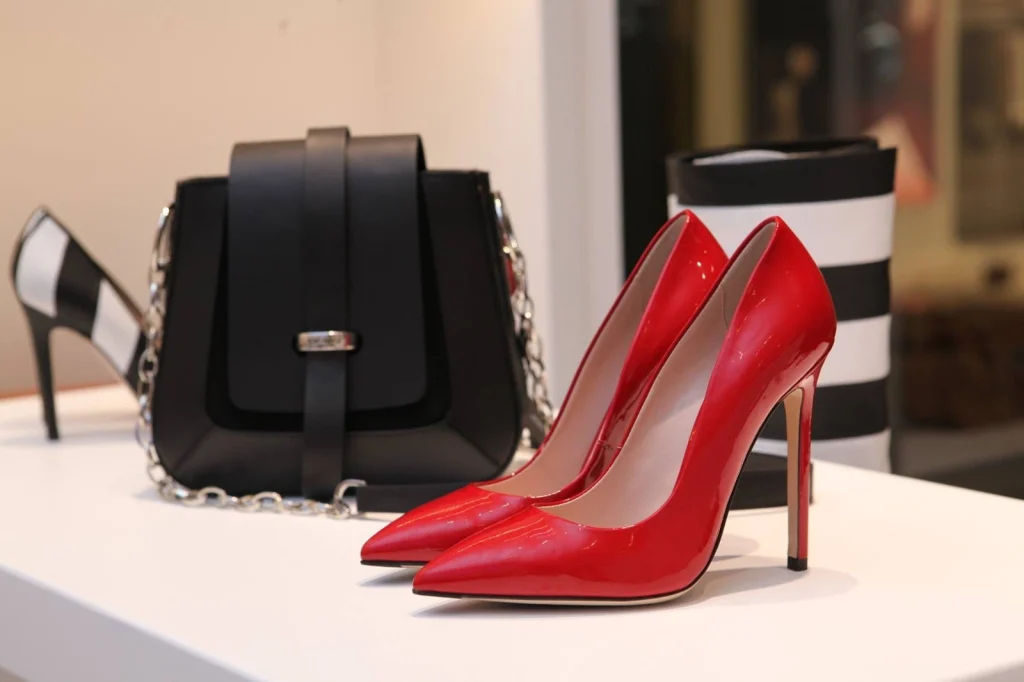
High heels
Emphasize the elegance and height of high heels by shooting from a low angle and using soft, flattering lighting.
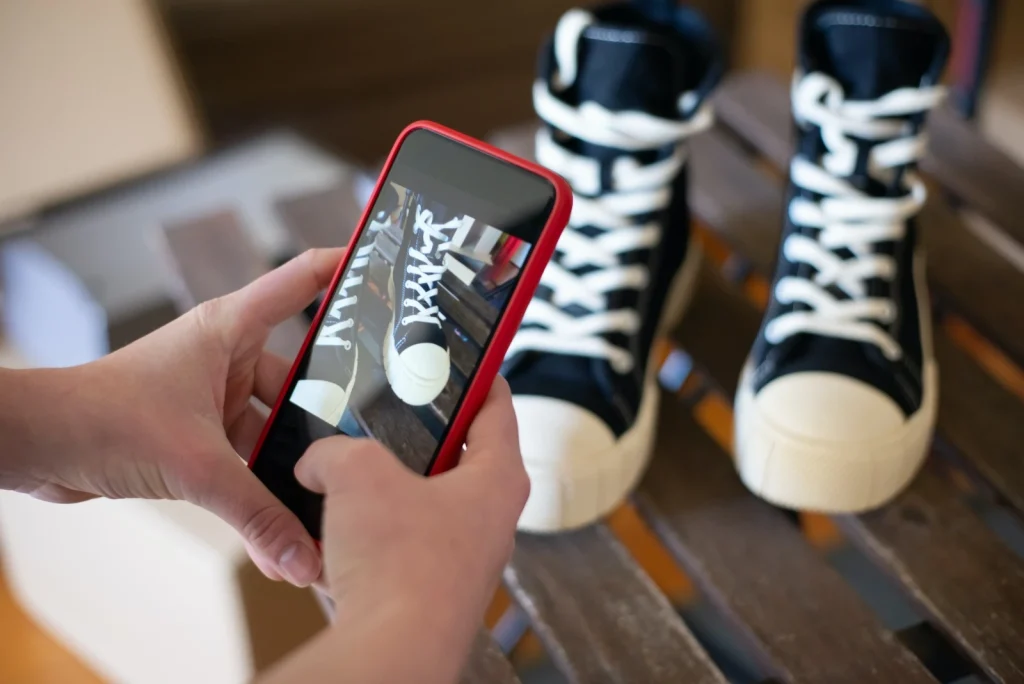
Boots
Capture the rugged, durable nature of boots by using textured backgrounds and dramatic, high-contrast lighting.
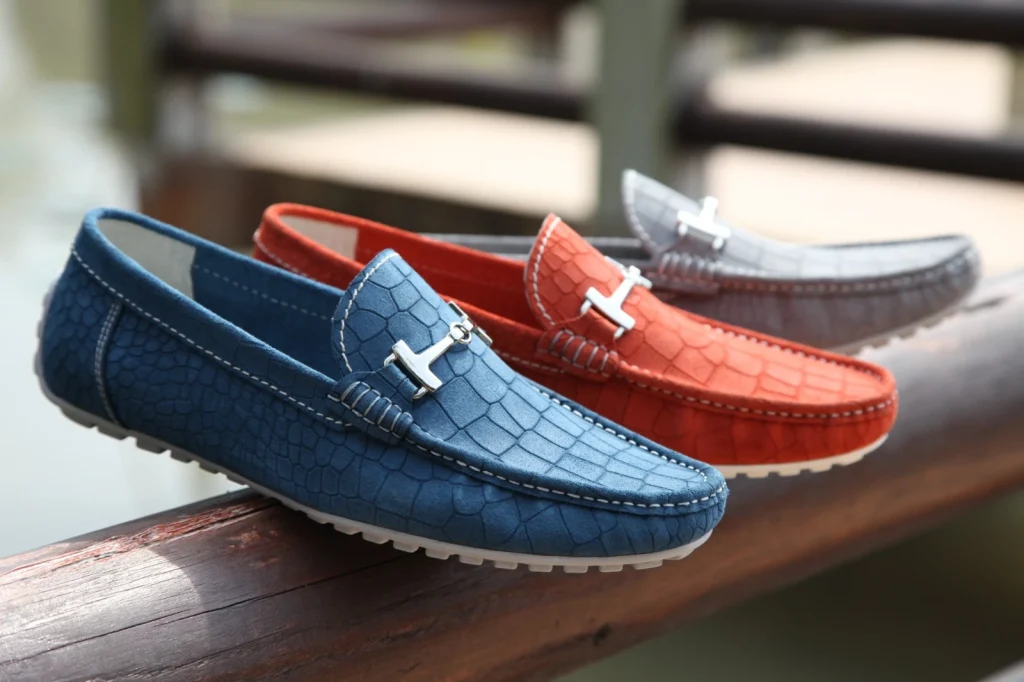
Lofers
Highlight the lightweight, different colors of Lofers by using bright, natural light and simple, clean backgrounds.
Related To: How To Keep Clear Shoes From Fogging?
Post-Processing:
Editing Your Shoe Photos for Maximum Impact Once you’ve captured your shoe photos, it’s time to edit them for maximum impact. Here are some post-processing tips:
Adjust exposure and contrast
Ensure your images are well-exposed and have a good balance of highlights, mid tones, and shadows.
Enhance colors
Boost the vibrancy and saturation of your shoe photos to make them pop.
Sharpen and add clarity
Bring out the details and textures of your shoes by applying sharpening and clarity adjustments.
Remove distractions
Use tools like the healing brush or clone stamp to remove any unwanted elements from your images.
Building Your Shoe Photography Portfolio:

Now that you’ve mastered the art of shoe photography, it’s time to showcase your work! Create a portfolio that highlights your best shoe photos, and therefore don’t forget to share your images on social media to attract potential clients and collaborators.
Conclusion
With these tips and techniques in hand, you’re well on your way to capturing stunning shoe photos that will impress your audience and elevate your photography skills. I will guide you in this article how to take pics of shoes. Furthermore Remember to experiment, practice, and have fun as you explore the exciting world of shoe photography. Happy shooting!