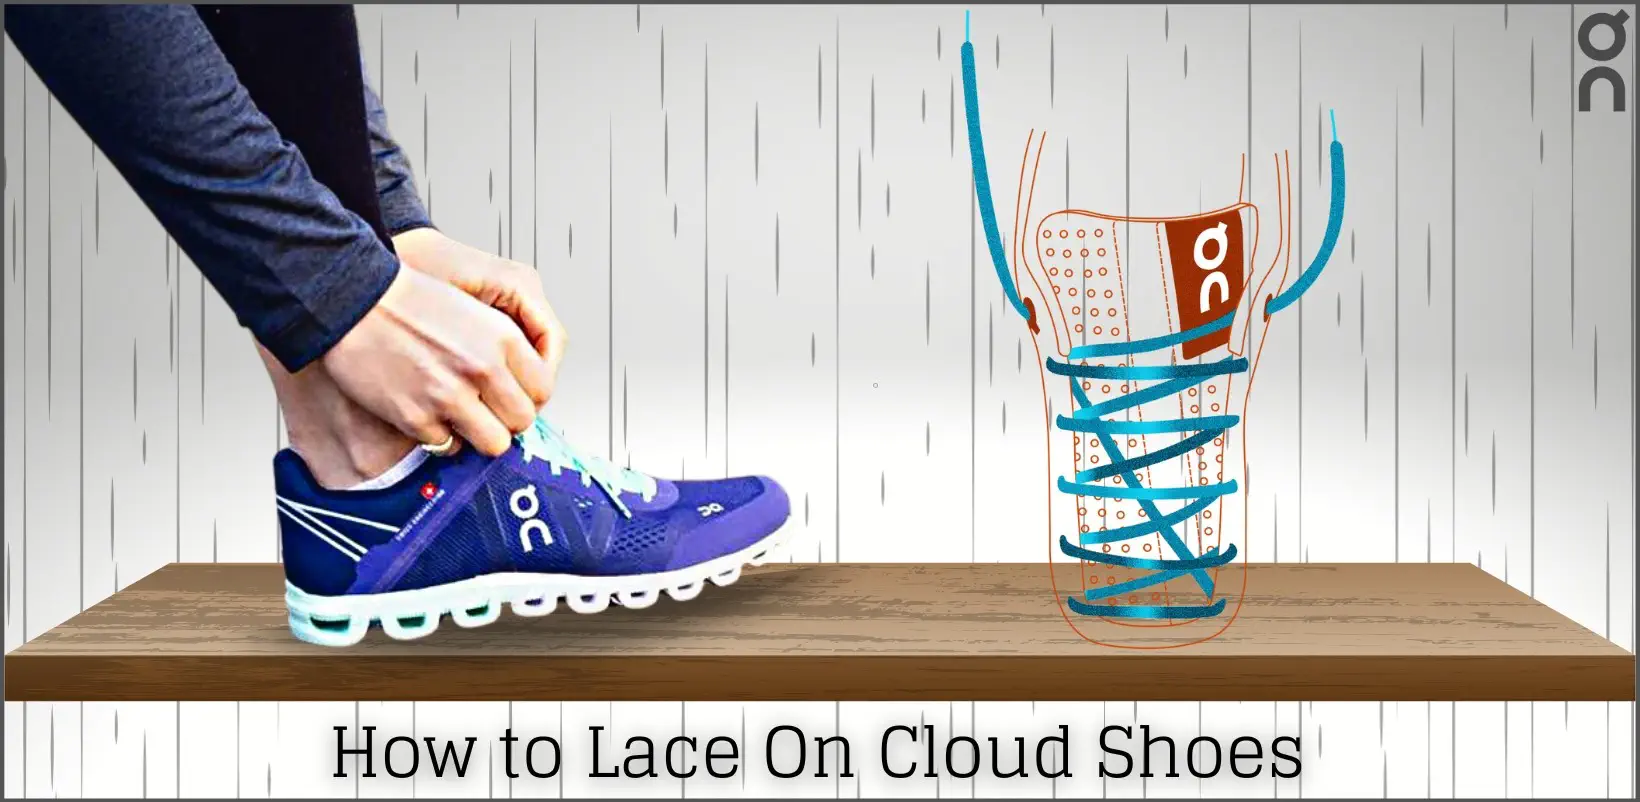
How To Lace On Cloud Shoes?
Looking to learn how to lace on cloud shoes? Look no further! In this guide, we’ll walk you through the step-by-step process of lacing up your Cloud shoes for maximum comfort and style. Whether you’re a seasoned runner or simply looking for a trendy and comfortable everyday shoe, Cloud shoes are a popular choice.
By following our easy-to-follow instructions, you’ll be able to achieve the perfect fit and enjoy the cloud-like sensation with every step. Get ready to elevate your shoe game with our comprehensive lacing guide for Cloud shoes.
How to Lace on Cloud Shoes
Lacing on Cloud shoes is a straightforward process that can be customized to your preference for fit and style. Here’s a step-by-step guide to help you lace your Cloud shoes:
4 Methods to Lace On Cloud Shoes
Lacing your On Cloud shoes can be done in various ways to achieve different levels of comfort and fit. Here are four popular methods to lace on cloud shoes:
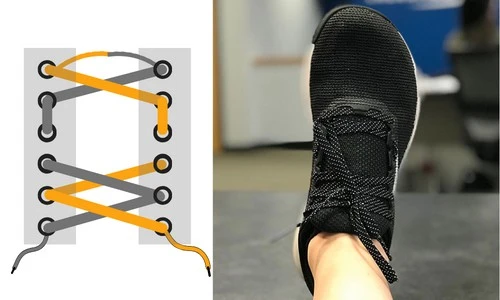
Method #1: Loop Lacing
Loop lacing is a technique that can provide added comfort and alleviate pressure points, making it a great option for those with high arches or instep discomfort. Beyond thwarting foot slippage, it also serves as a practical solution for blisters because it stops the foot from shifting within the shoe, substantially reducing friction and rubbing between the skin and the shoe’s interior.
Here’s how to lace your On Cloud shoes using the loop lacing method:
Loop lacing helps distribute pressure evenly across the foot, providing a more customized and comfortable fit. Give this method a try and enjoy the enhanced comfort of your On Cloud shoes.
Method #2: Diagonal Lacing
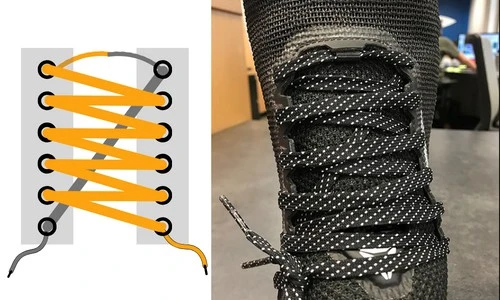
Diagonal lacing is a lacing technique that can help alleviate pressure points and provide a more secure fit for On-Cloud shoes. The magic happens because this technique doesn’t just focus on making your shoes snug; it’s got your toe comfort in mind, too.
The diagonal crisscross pattern creates a sort of “lace cushion” that takes some of the pressure off your poor little piggies. Follow these steps to lace your shoes using the diagonal lacing method:
Diagonal lacing helps distribute pressure more evenly across the foot, reducing discomfort and providing a snug fit. Give this method a try and enjoy the enhanced comfort and support of your On Cloud shoes.
Related to: How To Tie Boat Shoes Laces Hidden?
Related to: How To Lace Shoes For Plantar Fasciitis?
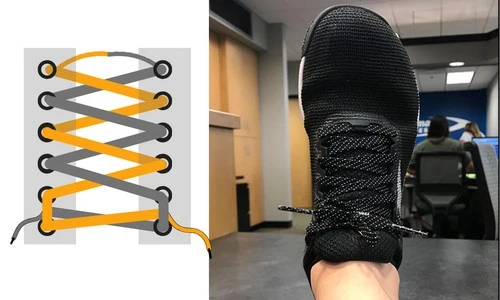
Method #3: Cross-over Lacing
Cross-over lacing is a simple yet effective method to provide a secure fit and prevent slippage in On Cloud shoes. People with high arches often have limited flexibility and mobility in the midfoot region.
This lack of flexibility can reduce natural shock absorption during activities involving impact, such as walking, running, or jumping. Follow these steps to lace your shoes using the cross-over lacing method:
Cross-over lacing provides a secure and balanced fit, keeping your feet comfortably in place during activities. Give this method a try and enjoy the reliable fit and support of your On Cloud shoes.
Related to: How To Measure Shoe Laces?
Method #4: Speed Lacing
Speed lacing is a convenient and efficient method to quickly tighten and loosen your On Cloud shoes. On top of that, the On Cloud lineup features the brand’s signature speed lacing system, which allows you to wear your kicks with ease.
Follow these steps to lace your shoes using the speed lacing method:
Speed lacing allows for quick adjustments and a secure fit without the need for tying knots. Try this method for easy on and off convenience with your On Cloud shoes.
Conclusion
Lacing on Cloud shoes is a simple yet essential step to ensure a comfortable and secure fit. By following the instructions provided in this guide, you can easily customize the lacing pattern to suit your individual needs.
Whether you’re hitting the pavement for a run or strolling around town, properly laced Cloud shoes will provide you with the ultimate combination of style, support, and cloud-like comfort. Now you know about How to Lace on Cloud Shoes? Lace up and step into a world of unparalleled footwear bliss with Cloud Shoes.
Frequently Asked Questions

Author
Hi, I’m Mr. Tiger! CEO of specialshoes.net and have 30 years of experience in the sports shoe industry. This scientific and vast experience equipped me with the knowledge and understanding to assist you in finding the perfect pair of shoes for your specific sports and individual needs. I always stay up-to-date with the latest trends and advancements in sports footwear technology, ensuring that my recommendations are always relevant and reliable. Thanks for visiting my site. I hope you enjoy the resources.