How To Hide GPS Tracker In Shoe?
In this blog post, we will discuss how to hide a GPS tracker in a shoe. GPS trackers are small devices that can be used to track the location of an object or person. While it is important to note that using GPS trackers without consent is illegal in many jurisdictions, we understand that there may be legitimate reasons for wanting to hide a tracker.
To hide a GPS tracker in a shoe, you will need to consider the size and weight of the tracker, as well as the type of shoe you plan to use.
Some possible methods include using a specially designed shoe insert with a hidden compartment, modifying the shoe to create a concealed space, or using adhesive to attach the tracker to the sole of the shoe.
Understanding GPS Trackers
GPS trackers have become increasingly popular in recent years due to their ability to provide real-time location information.
Whether you want to keep track of your personal belongings, monitor the whereabouts of a loved one, or track the movements of a fleet of vehicles, GPS trackers can be a valuable tool.
In this blog post, we will explain the basics of GPS trackers in easy-to-understand language.
Read More: How Much Do Tennis Shoes Weigh?
Read More: How Much Does It To Make A Shoe?
What is a GPS tracker?
A GPS tracker is a device that uses the Global Positioning System (GPS) to determine the precise location of an object or person.
It works by receiving signals from multiple satellites orbiting the Earth and calculating the device’s position based on the time it takes for the signals to reach the tracker.
How does a GPS tracker work?
1) GPS Signal Reception
The GPS tracker receives signals from at least four satellites in order to accurately calculate its position.
These signals contain information about the satellite’s location and the time the signal was transmitted.
2) Trilateration
Once the GPS tracker has received signals from multiple satellites, it uses a process called trilateration to determine its exact location.
Trilateration involves measuring the distance between the tracker and each satellite based on the time it takes for the signals to travel.
3) Position Calculation
Using the distance measurements obtained through trilateration, the GPS tracker’s built-in software calculates its precise latitude, longitude, and altitude coordinates.
4) Data Transmission
Some GPS trackers are equipped with cellular or satellite communication capabilities, allowing them to transmit the location data to a designated receiver, such as a smartphone or a computer.
This enables real-time tracking and monitoring.
Safety and legal considerations
- It is important to use GPS trackers responsibly and within the boundaries of the law.
- Always respect privacy rights and obtain proper consent before tracking someone or their belongings.
- Be aware of any local regulations or laws regarding the use of GPS trackers, as they may vary from place to place.
Remember, using GPS trackers should always be done ethically and legally.
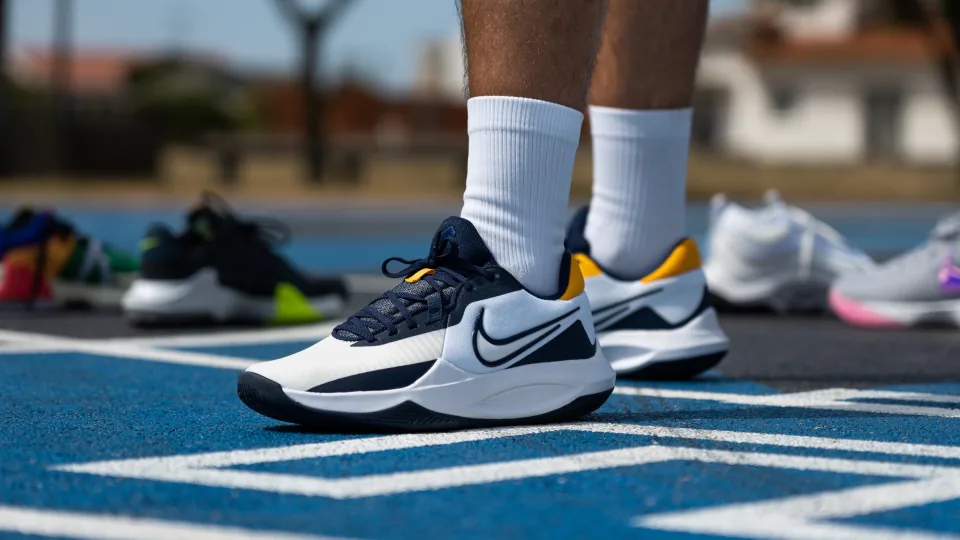
Choosing the Right Shoe
When concealing a GPS tracker in a shoe, it’s important to choose the right shoe that will accommodate the tracker while still being comfortable to wear.
Here are some tips to help you select the appropriate shoe:
1) Consider the Size and Fit
Choose a shoe that has enough space to accommodate the GPS tracker without causing discomfort.
Ensure that the shoe is not too tight or too loose, as this can affect both the comfort and the effectiveness of the tracker.
2) Shoe Type
Different shoe types may have varying levels of space and suitability for concealing a GPS tracker.
Sneakers or athletic shoes often have more room and flexibility, making them a popular choice.
Boots or high-top shoes may provide additional space for concealing the tracker, but consider the intended use and comfort.
3) Material and Design
Opt for shoes made of materials that can withstand the weight and shape of the GPS tracker.
Look for shoes with removable insoles or cushioning that can be adjusted to accommodate the tracker.
Consider the shoe’s design and features, such as laces, zippers, or straps, which should not interfere with the tracker’s placement.
4) Comfort and Discretion
Prioritize comfort to ensure that wearing the shoe with the concealed GPS tracker is not noticeable or bothersome.
Choose a shoe that matches your usual style and activities to avoid drawing unnecessary attention.
Remember, the primary goal is to conceal the GPS tracker effectively while maintaining comfort and functionality.
Preparing the GPS Tracker
Before inserting the GPS tracker into your chosen shoe, it’s important to properly prepare the tracker to ensure its functionality and longevity.
Here are some steps to follow when preparing the GPS tracker:
1) Choose the Right Size and Type
Select a GPS tracker that fits well within the space available in your shoe.
Consider the dimensions and weight of the tracker to ensure it can be comfortably concealed without causing discomfort.
2) Waterproofing
If your shoe is not already waterproof, take measures to protect the GPS tracker from moisture.
Use waterproofing sprays or coatings to create a barrier between the tracker and any potential water damage.
3) Battery Considerations
Check the battery life of the GPS tracker and ensure it is fully charged before inserting it into the shoe.
If the tracker has replaceable batteries, consider having spare batteries on hand for future use.
4) Testing the tracker
Before inserting the tracker, test its functionality to ensure it is working properly.
Follow the manufacturer’s instructions to activate and test the GPS tracker, ensuring it can accurately transmit location data.
By properly preparing the GPS tracker, you can ensure its effectiveness and longevity while concealing it in your shoe.
Remember to follow the manufacturer’s instructions and take the necessary precautions to protect the tracker from damage.
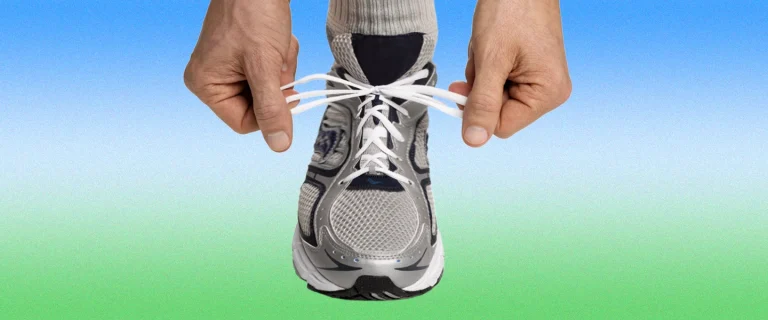
Inserting the GPS Tracker
Once you have prepared the GPS tracker, it’s time to insert it into your shoe. Follow these step-by-step instructions to properly conceal the tracker:
1) Find the Right Spot
Locate a suitable area within the shoe where the GPS tracker can be securely placed. Look for a spot that provides enough space and won’t cause discomfort while walking.
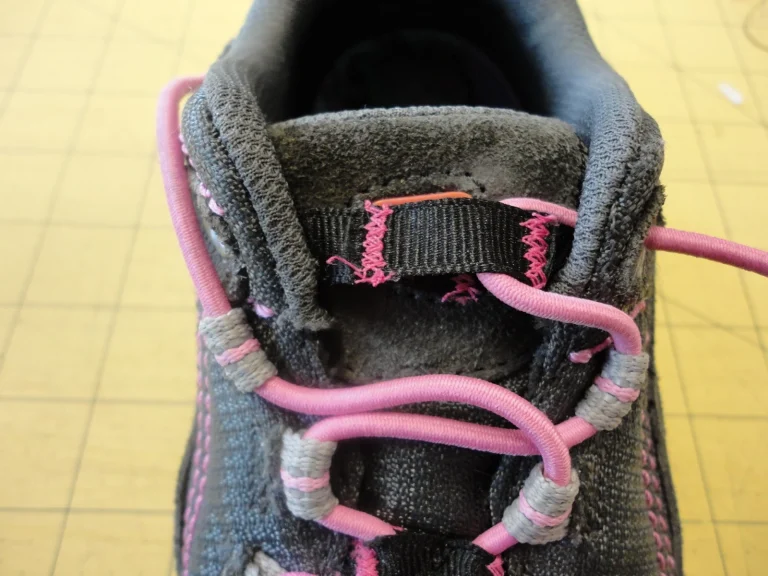
2) Create a Pocket
If necessary, create a small pocket or pouch within the shoe to hold the GPS tracker. Use fabric or adhesive materials to secure the pocket in place, ensuring it won’t move or fall out.
3) Insert the Tracker
Carefully place the GPS tracker into the designated pocket, ensuring it fits snugly and securely.
Make sure the tracker is positioned in a way that won’t interfere with your foot movement or cause discomfort.
4) Concealment Techniques
Use additional materials, such as foam or fabric, to further conceal the GPS tracker within the shoe.
Ensure that the added materials do not obstruct the tracker’s signal or affect its functionality.
5) Test for comfort and functionality
Put on the shoe and walk around to ensure that the GPS tracker does not cause any discomfort or irritation.
Test the tracker’s functionality by checking if it can accurately transmit location data.
Remember to be mindful of your comfort while concealing the GPS tracker in your shoe.
If the tracker causes discomfort or affects your ability to walk naturally, consider adjusting its placement or choosing a different shoe.
Testing the GPS Tracker
After inserting the GPS tracker into your shoe, it’s important to test its functionality to ensure it is working properly. Follow these steps to test the GPS tracker:
1) Activate the Tracker
Ensure that the GPS tracker is turned on and activated according to the manufacturer’s instructions.
Some trackers may require you to press a button or follow a specific activation process.
2) Check the signal strength
Move to an open area with a clear view of the sky to allow the GPS tracker to establish a strong signal.
Check the signal strength on the tracker or any accompanying app or device to ensure it is receiving a good GPS signal.
3) Monitor Location Data
Use the tracking device or associated app to monitor the location data transmitted by the GPS tracker.
Verify that the location information is accurate and up-to-date.
4) Test in Different Environments
Test the GPS tracker in various environments, such as urban areas, rural areas, and indoor spaces. This will help determine if the tracker can maintain a reliable GPS signal in different scenarios.
5) Assess Battery Life
Monitor the battery life of the GPS tracker over a period of time.
Ensure that the battery is lasting as expected, and consider any necessary battery replacement or recharging.
6) Troubleshooting
If you encounter any issues with the GPS tracker, consult the manufacturer’s troubleshooting guide or contact their customer support for assistance.
They can provide specific guidance based on the tracker model and any potential issues you may be experiencing.
By thoroughly testing the GPS tracker, you can ensure its functionality and reliability for accurate location tracking.
If any issues arise, refer to the manufacturer’s instructions or seek assistance to resolve them.
Maintaining the GPS Tracker
To ensure the longevity and effectiveness of your concealed GPS tracker, it’s important to properly maintain it. Here are some tips for maintaining the GPS tracker in your shoe:
1) Battery Maintenance
Regularly check the battery life of the GPS tracker to ensure it remains charged.
Follow the manufacturer’s instructions for replacing or recharging the battery as needed.
Consider keeping spare batteries on hand for convenience.
2) Concealment
Periodically check the concealment of the GPS tracker within the shoe.
Ensure that any additional materials used to conceal the tracker, such as foam or fabric, remain securely in place.
Make any necessary adjustments to maintain the tracker’s hidden position.
3) Cleaning
Clean the shoe regularly to prevent dirt, dust, or debris from accumulating around the GPS tracker. Use a soft cloth or brush to gently clean the shoe, taking care not to damage or dislodge the tracker.
4) Avoid Water Damage
Take precautions to protect the GPS tracker from water damage.
Avoid wearing the shoe in wet or rainy conditions, or use waterproofing sprays or coatings to protect the tracker.
5) Regular Testing
Periodically test the GPS tracker’s functionality to ensure it is still transmitting accurate location data.
Follow the testing steps mentioned earlier to verify its performance.
6) Follow the Manufacturer’s Guidelines
Refer to the manufacturer’s guidelines and instructions for any specific maintenance recommendations.
They may provide additional tips or precautions to ensure the proper care of the GPS tracker.
By following these maintenance tips, you can help prolong the lifespan of the GPS tracker and ensure its continued functionality.
Regular checks and proper care will contribute to reliable tracking performance.
Conclusion
In conclusion, concealing a GPS tracker in your shoe can be a useful way to track the location of objects or people discreetly.
By following the steps outlined in this guide, you can effectively hide the GPS tracker while maintaining comfort and functionality. In this very informative blog post, we learn how to hide a GPS tracker in a shoe.
Frequently Asked Questions

Author
Hi, I’m Mr. Tiger! CEO of specialshoes.net and have 30 years of experience in the sports shoe industry. This scientific and vast experience equipped me with the knowledge and understanding to assist you in finding the perfect pair of shoes for your specific sports and individual needs. I always stay up-to-date with the latest trends and advancements in sports footwear technology, ensuring that my recommendations are always relevant and reliable. Thanks for visiting my site. I hope you enjoy the resources.